The "Read more" button to hide long text

Guide: Adding a "Read more" button for a long product description or article in Cotonti CMF. There are two options for a ready-made solution for the task.

Rating based on reviews:
Total stars received: 0
Total reviews: 0
Average rating: 0
Filed under: User Blog

Guide: Adding a "Read more" button for a long product description or article in Cotonti CMF. There are two options for a ready-made solution for the task.


📘 Introduction

If your Cotonti store (Market module) has product descriptions ({MARKET_TEXT}) that exceed 750 characters, it’s a good idea to hide part of them behind a “Read more” button. This improves page readability without hurting SEO, because the full text remains present in the HTML.

Below are two implementation variants, both supporting multilingual buttons via Cotonti language files. Choose the one that fits your project structure best.

🌐 Preparing the localization

First, add the required strings to the Market module’s language files. If you use a different module, the path will be similar.

English (/modules/market/lang/en.lang.php)


$L['market_read_more'] = 'Read more';
$L['market_collapse']  = 'Collapse';

Russian (/modules/market/lang/ru.lang.php) – and any other languages you need (Ukrainian, Belarusian, etc.)


$L['market_read_more'] = 'Читать далее';
$L['market_collapse']  = 'Свернуть';

Variant 1: everything in a single template

This approach is great when you don’t want to touch global CSS/JS files and keep all the logic inside the product page template.

📄 File: /modules/market/tpl/market.tpl

Inside the product card (usually where {MARKET_TEXT} is output), insert the following block:

<div class="mb-3" id="protected-block">
    <div class="market-text-body">
        {MARKET_TEXT}
        <!-- IF {MARKET_BUY_DESCRIPTION} -->
        {MARKET_BUY_DESCRIPTION}
        <!-- ENDIF -->
    </div>
    <div class="d-flex align-items-center my-4">
        <hr class="flex-grow-1">
        <button type="button" class="btn btn-primary btn-lg read-more-btn d-none" id="readMoreBtn">
            {PHP.L.market_read_more}
        </button>
        <hr class="flex-grow-1">
    </div>
</div>

Here we added:

  • A wrapper container with id="protected-block".
  • The market-text-body block where the description appears.
  • A button with id="readMoreBtn", initially hidden with the d-none class. Its label comes from the language variable {PHP.L.market_read_more}.

🎨 CSS styles

Add these styles directly into the same template file (for example inside a <style> tag):

<style>
    .market-text-body {
        position: relative;
        overflow: hidden;
        transition: max-height 0.4s ease;
    }
    .market-text-body.collapsed {
        max-height: 200px; /* collapsed height */
    }
    .text-fade {
        position: absolute;
        bottom: 0;
        left: 0;
        right: 0;
        height: 60px;
        background: linear-gradient(to bottom, transparent, var(--bs-body-bg, #fff));
        pointer-events: none;
        transition: opacity 0.3s;
    }
    .market-text-body.expanded .text-fade {
        opacity: 0;
    }
</style>

The .collapsed class limits the text height, and .text-fade creates a fading overlay at the bottom. When expanded, the overlay disappears.

⚙️ JavaScript

Place this script right in the same template:

<script>
    document.addEventListener('DOMContentLoaded', function() {
        const block = document.getElementById('protected-block');
        if (!block) return;
        const body = block.querySelector('.market-text-body');
        const btn = block.querySelector('#readMoreBtn');
        if (!body || !btn) return;

        const plainText = body.textContent || body.innerText;
        const limit = 750;

        if (plainText.length > limit) {
            body.classList.add('collapsed');
            const fade = document.createElement('div');
            fade.className = 'text-fade';
            body.appendChild(fade);
            btn.classList.remove('d-none');

            btn.addEventListener('click', function() {
                const isExpanded = body.classList.contains('expanded');
                if (isExpanded) {
                    body.classList.remove('expanded');
                    body.classList.add('collapsed');
                    btn.textContent = '{PHP.L.market_read_more}';
                    fade.style.opacity = '1';
                } else {
                    body.classList.remove('collapsed');
                    body.classList.add('expanded');
                    btn.textContent = '{PHP.L.market_collapse}';
                    fade.style.opacity = '0';
                }
            });
        }
    });
</script>

Why can we use {PHP.L.*} directly in the script?
Because the script is inside a .tpl file, Cotonti processes it as part of the template and replaces the variables with the correct strings before the page is sent to the browser.

✅ Pros of variant 1

  • Everything is in one place – easy to find and modify.
  • No need to edit global theme files.

❌ Cons

  • The template code becomes bulkier.
  • Aggressive template caching (e.g., with {SOME_TPL}) may cause minor edge cases.

Variant 2: separate files

This is a cleaner approach: HTML remains in the template, CSS goes into your theme’s stylesheet, and JavaScript into a global script. Language strings are passed via data-* attributes because the JS file isn’t processed by the template engine.

📄 File: /modules/market/tpl/market.tpl

Replace the description output with this block:

<div class="mb-3" id="protected-block">
    <div class="market-text-body">
        {MARKET_TEXT}
        <!-- IF {MARKET_BUY_DESCRIPTION} -->
        {MARKET_BUY_DESCRIPTION}
        <!-- ENDIF -->
    </div>
    <div class="d-flex align-items-center my-4">
        <hr class="flex-grow-1">
        <button type="button" class="btn btn-primary btn-lg read-more-btn d-none" id="readMoreBtn"
                data-read-more="{PHP.L.market_read_more}"
                data-collapse="{PHP.L.market_collapse}">
            {PHP.L.market_read_more}
        </button>
        <hr class="flex-grow-1">
    </div>
</div>

The key difference is that the button now has data-read-more and data-collapse attributes carrying the localized strings – these will be picked up by the external JavaScript.

🎨 CSS styles

Add the following to your theme’s stylesheet, e.g., themes/index36/css/default.css (path may vary):

/* "Read more" toggle for product card */
.market-text-body {
    position: relative;
    overflow: hidden;
    transition: max-height 0.4s ease;
}
.market-text-body.collapsed {
    max-height: 380px; /* you can adjust this height */
}
.text-fade {
    position: absolute;
    bottom: 0;
    left: 0;
    right: 0;
    height: 60px;
    background: linear-gradient(to bottom, transparent, var(--bs-body-bg, #fff));
    pointer-events: none;
    transition: opacity 0.3s;
}
.market-text-body.expanded .text-fade {
    opacity: 0;
}

Notice the collapsed height is different from variant 1 (380px vs 200px). Choose whichever value suits your design best.

⚙️ JavaScript

Add this code to your theme’s main JavaScript file, e.g., themes/index36/js/js.js. It’s best to keep it as a standalone handler:

// "Read more" toggle for product card
document.addEventListener('DOMContentLoaded', function() {
    const block = document.getElementById('protected-block');
    if (!block) return;
    const body = block.querySelector('.market-text-body');
    const btn = block.querySelector('#readMoreBtn');
    if (!body || !btn) return;

    const plainText = body.textContent || body.innerText;
    const limit = 750;

    if (plainText.length > limit) {
        body.classList.add('collapsed');
        const fade = document.createElement('div');
        fade.className = 'text-fade';
        body.appendChild(fade);
        btn.classList.remove('d-none');

        btn.addEventListener('click', function() {
            const isExpanded = body.classList.contains('expanded');
            if (isExpanded) {
                body.classList.remove('expanded');
                body.classList.add('collapsed');
                btn.textContent = btn.dataset.readMore;  // from data attribute
                fade.style.opacity = '1';
            } else {
                body.classList.remove('collapsed');
                body.classList.add('expanded');
                btn.textContent = btn.dataset.collapse;  // from data attribute
                fade.style.opacity = '0';
            }
        });
    }
});

Important!
Since the JavaScript is in a separate file, the Cotonti template engine does not process it. We cannot write {PHP.L.market_read_more} there. Instead, the strings are read from the button’s data-read-more and data-collapse attributes – that’s why we added them in the HTML.

✅ Pros of variant 2

  • Clean separation of concerns: HTML, CSS, and JS are not mixed.
  • CSS and JS can be cached by the browser independently.
  • Better suited for larger projects with shared codebases.

❌ Cons

  • Requires editing multiple files.
  • You must remember to pass localized strings through data attributes.

🔄 Comparison and recommendations

CriteriaVariant 1 (all in template)Variant 2 (separate files)
LocalizationDirect {PHP.L.*} in scriptVia data-* attributes on the button
Styles locationInside the same .tpl fileIn a global CSS file (e.g., default.css)
Script locationInside the same .tpl fileIn a global JS file (e.g., js.js)
MaintainabilitySimpler – everything is nearbyScales better
PerformanceSlightly faster (fewer HTTP requests)More efficient static asset caching

Recommendation:
If you rarely change scripts and styles and your template isn’t too bloated, go with Variant 1 – it’s the easiest to implement.
For larger projects with active development, Variant 2 is preferable – it keeps the code organized and reusable.

🧪 Testing

After applying the changes, open any product that has a description longer than 750 characters. You should see the text truncated with a fading gradient at the bottom and a “Read more” button. Clicking it expands the full text and changes the button to “Collapse”. Clicking again collapses the description. Products with short descriptions will not show the button.

Switch the site language to verify that the button label updates accordingly.

Now you can pick the approach that fits your workflow and integrate it. Both variants work perfectly and don’t harm SEO because the complete text is already present in the HTML source.


Reviews

No reviews yet


Comments (0)

No comments yet
Only registered users can post new comments

Recommended Products and Services

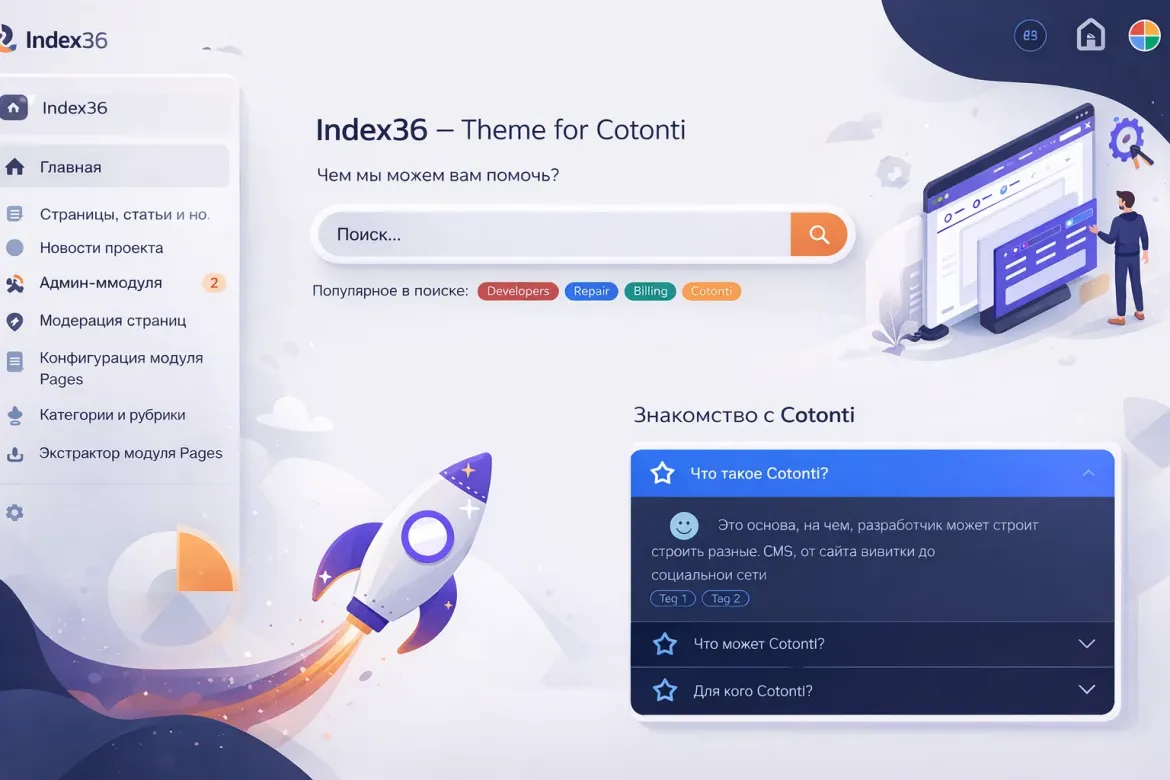
Index36: Modern Theme for Cotonti CMF

Index36: Modern Theme for Cotonti CMF

Index36, a website theme for Cotonti, is a complete website management ecosystem. The main focus is
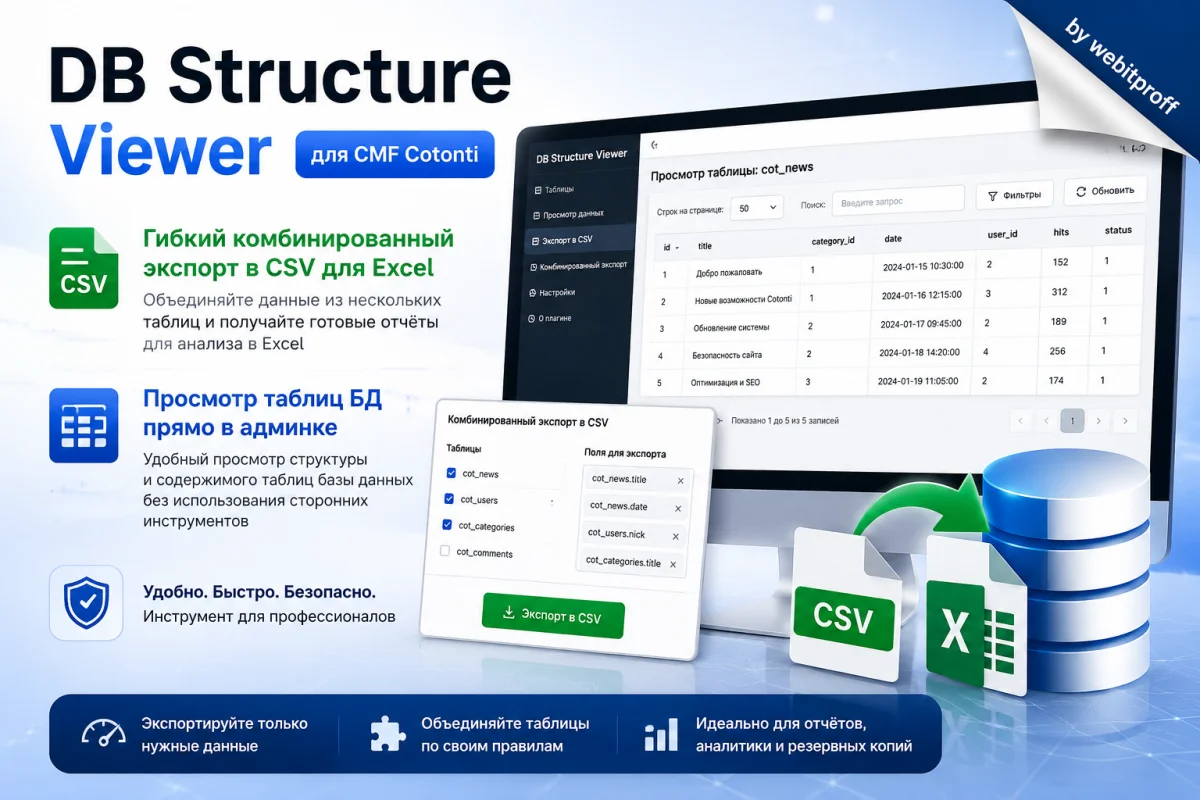
DB Structure Viewer для Cotonti

DB Structure Viewer для Cotonti

Гибкий комбинированный экспорт в CSV для Excel, просмотр таблиц БД прямо в админке — всё это
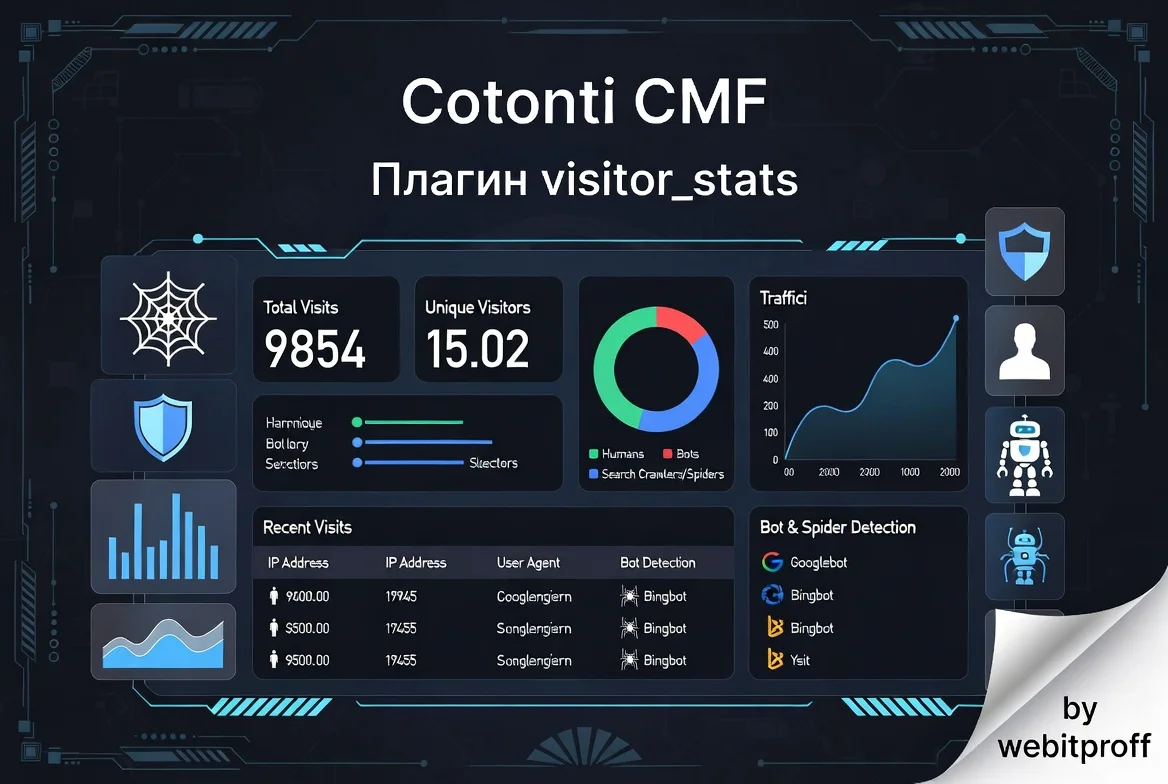
Visitor Statistics with Crawler Detection

Visitor Statistics with Crawler Detection

A plugin for Cotonti CMF that provides detailed tracking of site visits with extended analytics for

Page Discussion in Telegram

Content author

webitproff

Offline

Sodium Carbonate

Last logged: 2026-07-11 19:44

  • Чем могу помочь?

    Оказываю весь спектр услуг по CMF Cotonti. Разработка открытых и закрытых корпоративных интернет порталов, небольших социальных сетей, торговые площадки, маркетплейсы, биржи фриланса, каталоги товаров оптовых поставщиков, интернет-магазин под заказ, чтобы делать совместные покупки и групповые совместные продажи от имени нескольких продавцов.

  • Разработки на GitHub бесплатно
    • Page published: 2026-07-11 15:38
    • Last update: 2026-07-11 16:05
    • Language:

    Связанные статьи

    Recommended forum topics for this article

    "Index36" - основной шаблон сайта для Cotonti. Руководство по установке

    "Index36" - основной шаблон сайта для Cotonti. Руководство по установке

    Инструкция по установке темы "Index36" на сайт Cotonti Siena CMF. Удачной установки и красивого
    #188 | Постов: 7 | Просмотров: 1587
    Заметки, инструкции и предупреждения по шаблону "Index36"

    Заметки, инструкции и предупреждения по шаблону "Index36"

    "Index36" - это шаблон основной темы сайта на CMF/CMS Cotonti Siena v0.9.26 самой новой версии по
    #185 | Постов: 1 | Просмотров: 566
    Дифференциация пользовательских шаблонов header.tpl

    Дифференциация пользовательских шаблонов header.tpl

    в файл modules/market/inc/market.functions.php  добавить:  /** * Функция проверяет существование
    #211 | Постов: 1 | Просмотров: 1282